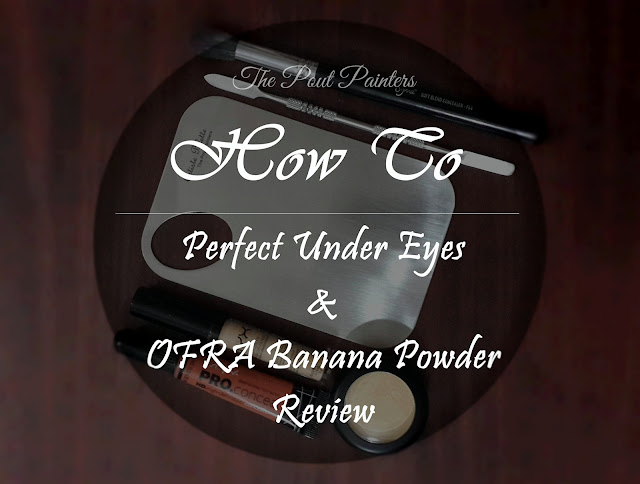
Okay so I thought of doing something different apart from the traditional reviews we write and hence I have paired a review with some tips and tricks to achieve seamless under eyes.
We all are familiar with the concept of baking the under eyes and setting the concealer for a seamless finish which by the way, I agree, looks amazing in photos and on camera but for my personal liking it’s a little too much especially for under eyes. I am no expert on makeup and I don’t even claim to be a professional, and all the opinions I share with you guys are either ramifications of my practice and mistakes or tips and tricks I have learnt through many makeup artists.
Today I thought I would share with you guys some simple tips you could employ to make the under eyes look almost creaseless without the need to bake.
I have not used a lot but the concealers I have used had this one common quality, they set quickly and any concealer that does so leaves you little time to blend and work out those creases. Over blending or going back and forth over the concealer many times may displace the product instead of setting it properly. Now first things first, you cannot make your under eye wrinkles go away, they will not disappear. You can for sure reduce their appearance with makeup that too if applied without committing serious mistakes.
Oily skin looks plumper and healthier than dry skin because the oils keep it hydrated, same is the case with your under eyes’ skin which actually is a lot more delicate than the rest of the face, hence needs more love and less harsh makeup techniques. If you have dry skin around your eyes you might have experienced creased concealer quite often. The tips I share here apply to almost everyone regardless of their normal, oily or dry under eyes.
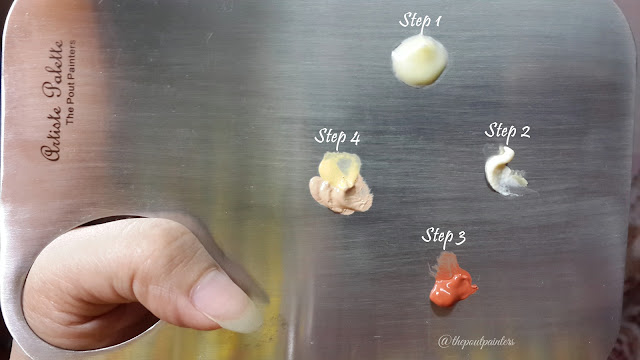
Step 1:
Begin with a clean face, obviously and moisturize your under eyes. Let the moisturizer sit for a minute or two allowing your skin to absorb all the goodness. If you have super oily skin even around the eyes try a water-based, oil-free moisturizer. I personally have used and loved Enchanter moisturizers for quite some time and they feel amazing on skin, so light yet moisturizing. For those like me with dry under eyes try some moisturizer with good fat content, I use Palmer’s Cocoa Butter Formula moisturizer, it smells ah-mazing.
Depending on the skin’s condition, how dry or normal it is, you may need one or multiple layers of moisturizer. Apply two to three layers allowing the moisturizer to get absorbed after every application and you will notice your skin starts to look plumper, under eyes’ thirst quenched.
Step 2:
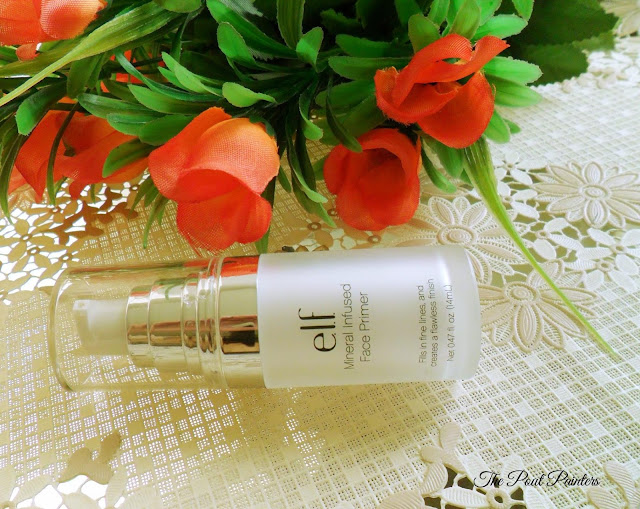
A clear eye primer (or even a face primer would do) will help fill in any creases, you may think of it similar in function to a pores filling face primer. I personally use the ELF Glitter Eye Primer for the purpose only because that is the only clear eye primer I have right now but ELF does have an eye primer made especially for under eyes. I have not tried that yet but if anyone of you does, let me know how it works. Apply a thin layer of the clear eye primer over moisturized under eyes and let it set as well. I am not a fan of dragging products in my eye area so I’d recommend you pat any product onto the skin. Patting motion is actually gentler on skin than dragging and we want to keep those eyes looking young for as long as we can, right girls?
Step 3:
This step is optional but if you have dark circles like I do which require some colour correcting then go ahead, use your favourite peach/orange corrector. I switch between L.A. Girl Orange Corrector and NYX Dark Circles Corrector (Medium). For L.A. Orange Corrector two or three tiny little dots applied and patted onto the dark area to cancel out the darkness is enough for me, no need to apply it in the shape of Bermuda Triangle on your face. Blend it well and I have experienced, surprisingly, your ring finger works the best for this purpose.
Make sure you look up while you blend out the corrector, doing so fills in the creases.
Step 4:
Now since you have prepped the under eyes well until you reach Step 4, you will notice any concealer you now choose to apply will crease less and set better. I use NYX Concealer Wand in Beige CW04 and Yellow mixed together for my correct undertone. Again, no need to go crazy with it in triangular shapes, you only need to put in the dark circles area and blend well. I prefer using my wet Beauty Blender or Real Techniques Miracle Complexion Sponge for blending out concealers, they work the best, better than your ring finger or any brush.
Step 5:
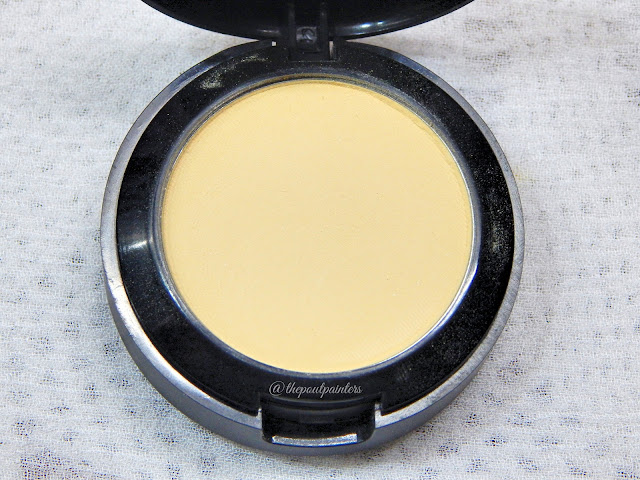
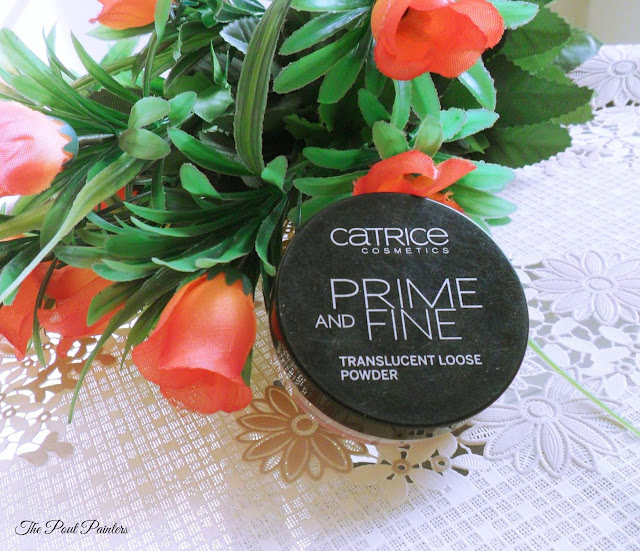
Set everything with a translucent powder or in my case, OFRA Banana Powder which is a yellow setting powder which imparts the effect of brightened skin where applied.
The product itself is really soft at touch and odourless and I like the fact that although it’s pigmented you do not really get a lot neither on the brush nor if you swirl your finger over. It blends out really well and subtly highlights my under eyes making them look more awake and brightened (not in your face type). You get a good 4grams of the product pressed firmly in the pan at $15.00. The only thing I like about the packaging is that it comes with a built-in mirror under the product pan which comes quite handy otherwise for a product that retails at this price I’d expect a better looking packaging, it does not even remotely feel good quality which OFRA needs to fix as soon as they can. The label on the lid has already rubbed off! I like to use my Sigma Concealer Brush F64 or Real Techniques Setting Brush to pick up the product and gently dab it onto the concealer and then ever so slightly and tenderly blend out the edges for a flawless finished look. Besides the under eyes, I like to dust it lightly over the high points of my face for a matte highlighted look. There is just something really classy about a matte highlighted look; I don’t know maybe it’s only in my head?
The powder actually does cling to my concealer for quite long without cracking and it has, to some extent, tolerated the heat and sweat as well. However, I have not tested it in severe heat, like these days, because I do not put any makeup on when I sweat a lot.
Since it goes on almost clear with a hint of brightness without making anything obviously yellow-looking those of you with undertones other than yellow may also use it for setting the concealers but make sure you do not layer a lot. Even if it does not make you look sick with yellow circles around your eyes, it will definitely look cake-y.
Ever experienced exposed dark circles even after you applied and set the concealer? Chances are you dragged everything and the products shifted. The trick is to look up while you set the concealer with any powder and instead of dragging the brush over gently pat the product onto the skin.
All these tips will definitely help you achieve a better-looking if not “flawless” under eyes since I realistically mentioned earlier, there is no way to make the under eyes wrinkles go away, you can only reduce their appearance to a certain degree and following these tips will positively help you achieve that look.
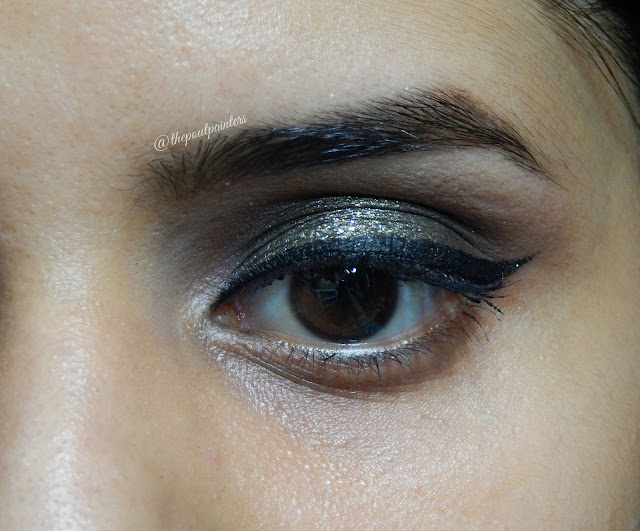
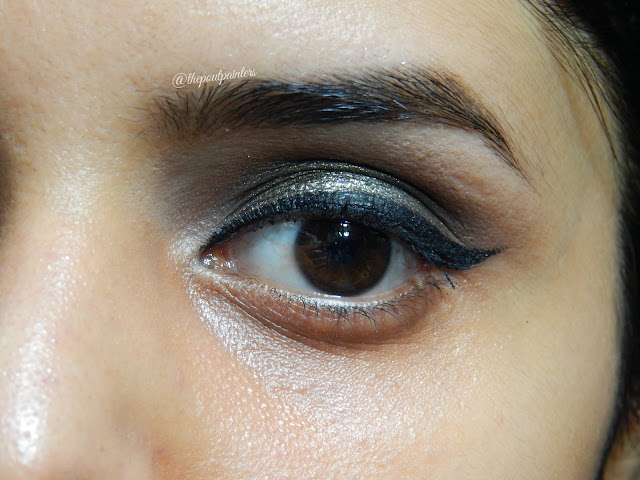
P.S. The photos are different from the video because I had to re-film, the first time I did it was horrible :(
OFRA Banana Powder is availability at Makeup 4 U (contact the page for the price)
My Rating
3.5/5
Let me know if you found these tips helpful.
Love,
Fizzah
PR sample(s) for consideration. This, however, has not affected our sincere opinions as our loyalty is to the readers. For further details, check our Blog Policy.
Disclaimer: This is a personal blog edited by its owners and the opinions expressed here belong solely to its owner's. For questions and queries please email at thepoutpainter@gmail.com
